Painting Breeze Blocks
Painting a drab wall is a quick and easy way to brighten up any room. But what to do if your walls are made from breeze blocks? Those drab grey blocks can often be reminiscent of a prison cell, so a bit of colour to lighten the mood wouldn’t go amiss. But is it possible? can you paint breeze blocks?
Well, can you?
Yes, you definitely can paint breeze blocks, but there are a few things you can do to make the process much easier for yourself.
Do I need to seal the breeze blocks first?
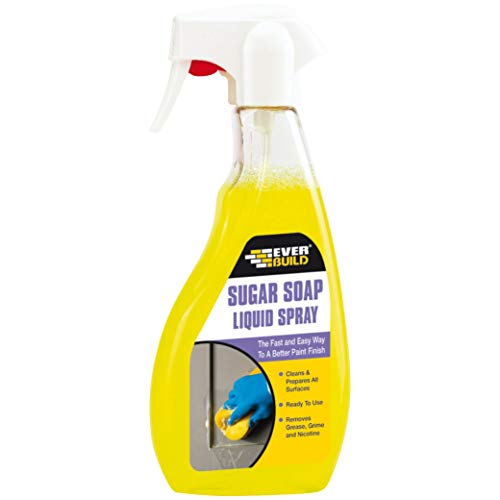
You don’t need to do anything special in order to paint the breeze blocks but a mist coat can work well. As I explained in my can you paint straight onto plasterboard article a mist coat is a watered-down emulsion that you apply as a primer.
Do not seal the wall with a watered-down PVA as some people advocate. PVA can be really difficult to paint over with emulsion and can lead to tons of issues down the road, just don’t do it!
Preparation before painting
You will be well advised to brush over the breeze block walls with a brush before painting. This will help knock off dirt or debris and thus allowing for a better quality finish. A wire brush will be really useful for this. if you are using a wire brush though take care not to scrub too hard, breeze blocks are soft and can be easily damaged.
Mould resistant paints
If you are painting a cellar or garage which is often damp then it is advised to use mould resistant paint. these paints have chemicals in which help prevent mould and mildew from growing. These paints are a little more expensive than just plain old regular emulsion but are well worth it if you are painting a damp wall.
How I Painted a Breeze Block Wall
In order to answer this question properly, I thought it was only right that I showed you how I painted a breeze block wall of my own. Luckily there was a wall in the workshop that could really do with a tidy up, so none of this was wasted effort.

I decided I would tackle a couple of the most common methods of painting a breeze block wall at once here and see which method came out on top, for me at least. So for this test, I would be using a spray gun as well as the old fashioned paintbrush.
I have a compressor and spray gun up at the workshop so this is what I will be using for this test.

You can see from the permanent marker reminder etched onto the side that this compressor is normally used for a pin nailer, but today it starts a whole new life as a painters compressor, exciting stuff for our yellow friend I’m sure.
After a lot of messing around with sprayer settings and paint consistency, I watered it down quite a lot which I recommend you do to if spraying, I finally got the spray gun pumping out a consistent spray.

Here you can see a block painted by the spray gun. It did a good job in the end, but there was a lot of setup work, and it wasn’t particularly fast while painting. I videoed the process so have a look below for yourself.
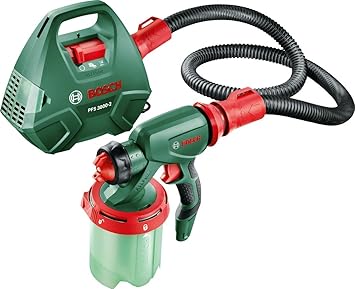
Electric Spray gun
If you don’t happen to own a compressor and I’m sure that’s the majority of you out there, then you can buy electric “wireless” paint sprayers. These are getting more and more common and while I have never used one myself I have heard a lot of good things about this Bosch model below.
Painting With A Brush
So onto method two, and the method that I think worked best.
To start with a got a bucket of Masonry Paint, SandTex Smooth White, and watered it down quite significantly. The ratio was roughly 2:1, 2 parts paint to one part water.
There are a couple of reasons to do this when painting breeze block. To start with breeze block is a porous surface, so it will suck up a lot of paint, watering down our paint allows it to go much further, saving paint and therefore money. Once dry the paint will act as a sealer and stop any further coats from soaking in.
Another reason is that it is very tricky to paint breeze block ordinarily due to all the bumps and hollows. By watering down the paint and making it much more viscous it is a lot easier to work into all the gaps, making your life much easier.
This is the mix I ended up with for my first coat, so now onto the painting.
I think the most important thing I can stress here is don’t be shy. In order to not make this a painful job you really need to just get stuck in and slap the paint on there in heavy amounts. So get some sheets down on the floor and just go for it.
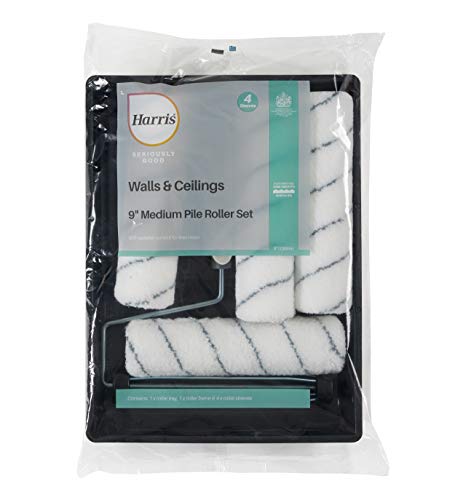
I prefer to use a large brush over a roller as it is easier to work into all the gaps.
There’s nothing neat or civilised about this paint job, but it gets the job done.

Multiple coats
Breezeblocks are very porous, so you may notice they can soak up a lot of paint. This isn’t really an issue and just means that you may have to apply multiple coats before you achieve a perfect finish. Depending on what room you are painting this may or not be an issue.
Here you can see that even with me putting lots of paint on it has since soaked into the breeze block and dried patchy, another coat should finish this off. There is no need to water down your second coat, go for the full-fat stuff.

Decorating? Check Out My Top Buys!

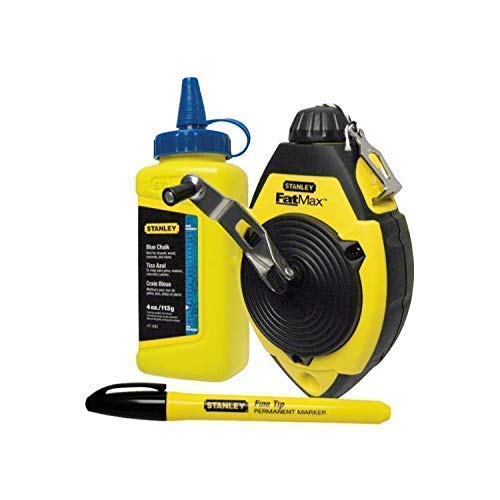
- 30m chalk line with an ABS case with a 45G chalk capacity
- Clutch allows line extension without handle rotation while the 3.5: 1 gear ratio allows fast rewind
- Also includes 113G blue chalk refill and a fine tip Black Marker