
How to fill gaps in skirting board corners
Gaps in your skirting board corners can be caused by a multitude of different things. Poorly cut mitres, walls that aren’t straight and even settlement in new buildings can be some of the leading causes. Regardless of what caused these gaps in your skirting, you want to fill them, so what is the quickest and easier way to do this?

How to fill gaps in skirting board corners
Luckily this is a really simple fix and any DIY’er is capable of doing this job. All you need is some decorators caulk and an applicator gun, you might possibly need sanding paper and masking tape too depending on your circumstances.
(don’t worry about the state of my skirting boards, these will not be staying it is just for the example!!)
Supplies Needed:
- Decorators caulk
- Caulking gun
- Masking tape (for protecting carpet)
- Sanding paper
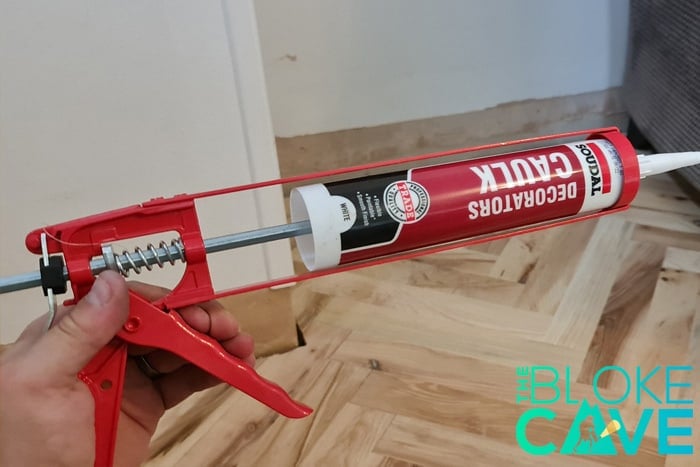
Step One – Get Your Caulking Gun Ready
Before we begin we want to get our caulking gun ready to go. Cut the end of the tube off your decorator’s caulk, a sharp Stanley knife works well here. Then get it into the gun and squeeze the trigger to get the tube fixed in place, as soon as you feel any resistance stop squeezing! You don’t want any caulk coming out just yet.
If you have carpet which you are worried about getting caulk on then it’s time to use the masking tape. Cover your floor up to the skirting board. This way if any caulk does fall off then it will land on the tape rather than your carpet.
Step Two – Apply Caulk To The Gap
Now start squeezing the caulk into the gap, don’t worry if this is not perfect as we will shortly be coming back and tidying this up.

Step 3 – Fill The Gap Up Completely
Fill the entire skirting board corner with caulk before trying to make it look neat, that step will come next.

Step 4 – Push The Caulk Into The Gaps
Now comes the time to make the gap look neat. We will be using the most versatile tool of all, your finger. Use your finger to smooth the caulk into the gap. You can also use a damp cloth to help clean any excess off the skiritng board.

Finished
There we go, you can see the finished skirting board below.

As you can see this is quite a simple job and every level of DIY’er should be able to do this and achieve a really good finish. There is not much that can go wrong and even if it does then mistakes are easily remedied. So don’t be afraid to get stuck in and give this one a try!


I have long polished nails so won’t be using the “wipe excess with finger” technique. Any suggestions. Latex gloves are good but often big at the finger tips so might make a mess of the seal. Thank you
Hi Teresa, You can get little silicone finishing tools for a couple of quid which might be what you are after: https://amzn.to/3Kl87ST
Also useful for getting nice shape on your silicone when used in a corner